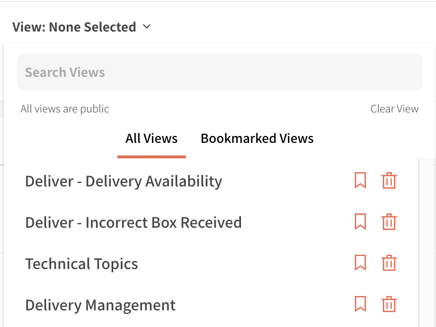
A view is a saved combination of filters that you can easily revisit. Views are located in the top left-hand corner above filters. All users who can view your dashboard can access all the views you create. See examples of team views here.
How To Add A View
-
Add filters
-
Click Save View
-
Name View & Save
Add filters
Click Save View
Name View & Save
First, you add filters. See this article on how to use filters and the different possibilities.
Once happy with your selection of filters, then click Save View. A text box will appear where you enter the name you would like to save the view with. Once you click Save, you can find the view in the View dropdown.
Edit A View
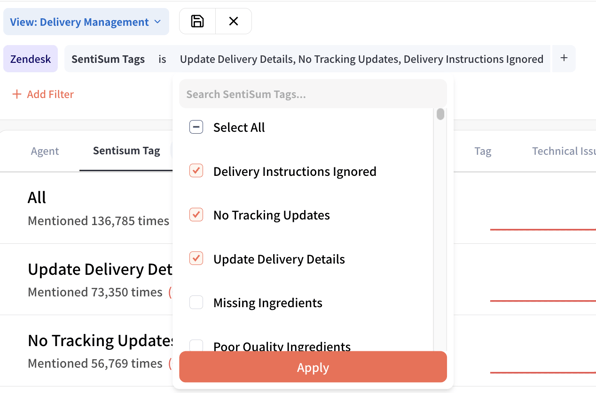
When looking at a view, we may want to dig a little deeper and add some additional filters.
In this example, when adding these additional filters to look at high priority tickets within delivery management, the filters will further drill down on tickets or responses. However, it won't be a permanent change to the Delivery Management view unless you save the updated filters.

If you want to return back to the filters that made up the saved, original view, click on the Reset button ( X ) and if it needs to be cleared then, click on Clear view on the right as shown below.
Reset to original view

Clear View

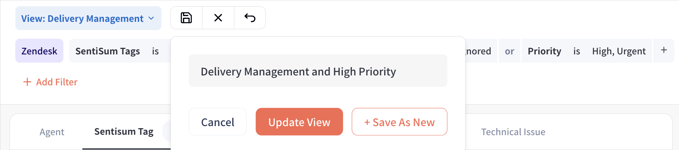
Update A View
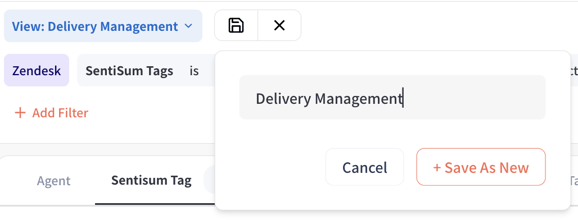
If you decide after adding the filters, that you would like to save this updated view, you can do one of two things:
-
Save as a new, additional view (where you will then see both Delivery Management and Delivery Management + High Priority in the view dropdown)
-
Update the current view (this will override the Delivery Management view and rename it as Delivery Management + High Priority
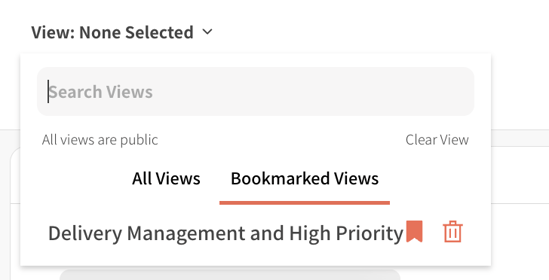
Bookmark A View
All views are public, but you can bookmark the ones that you visit regularly here: