
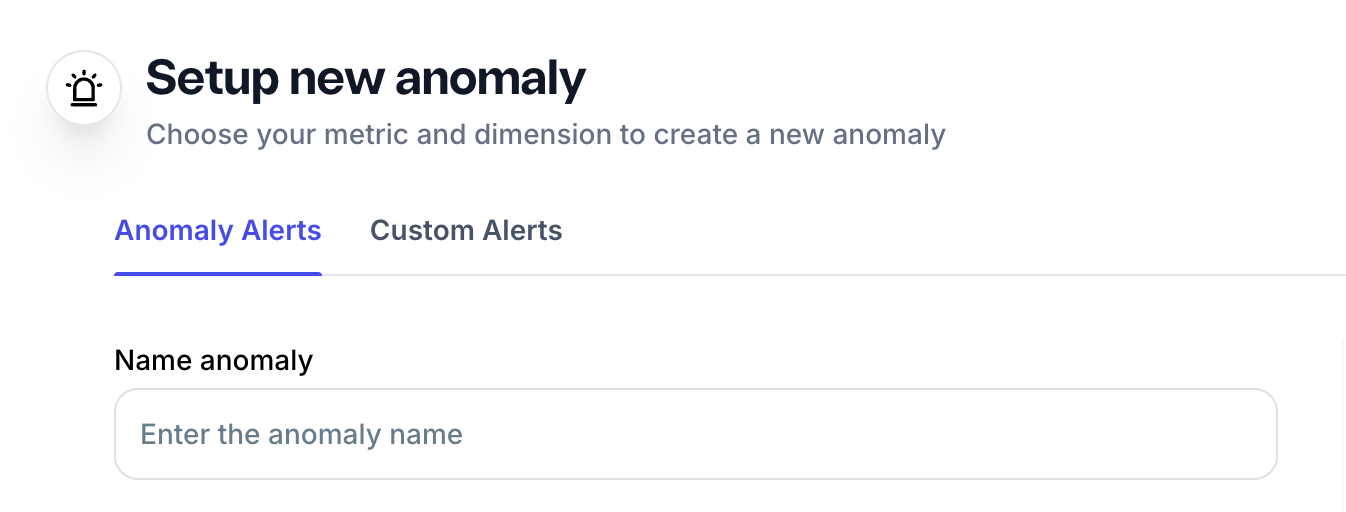
Setting up a new alert
- Go to Alerts & Anomalies in your dashboard
- Click Alert Settings in the top right, then Set Up New Alert
- Choose your alert type using the tabs — Anomaly Alerts or Custom Alerts
Configuring an Anomaly Alert
- Name your anomaly — give it a clear, identifiable name
- Frequency — choose Daily or Hourly
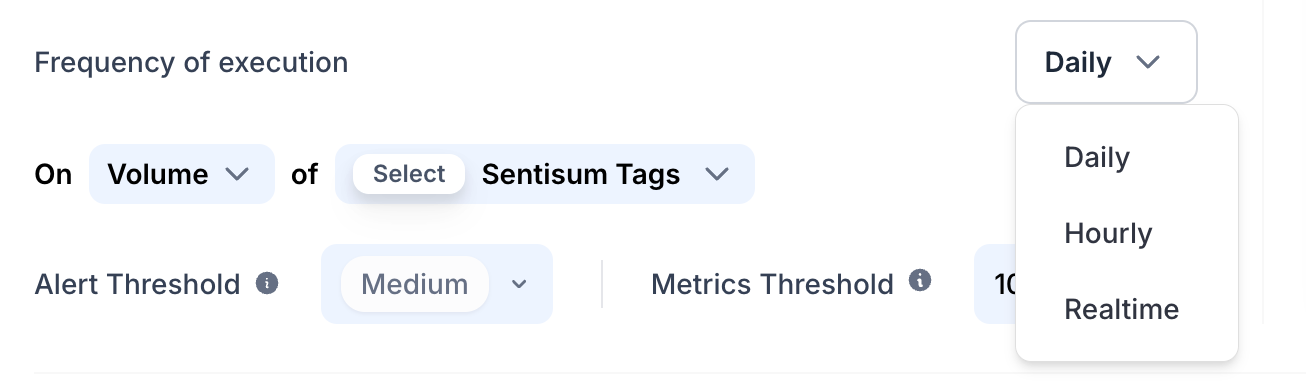
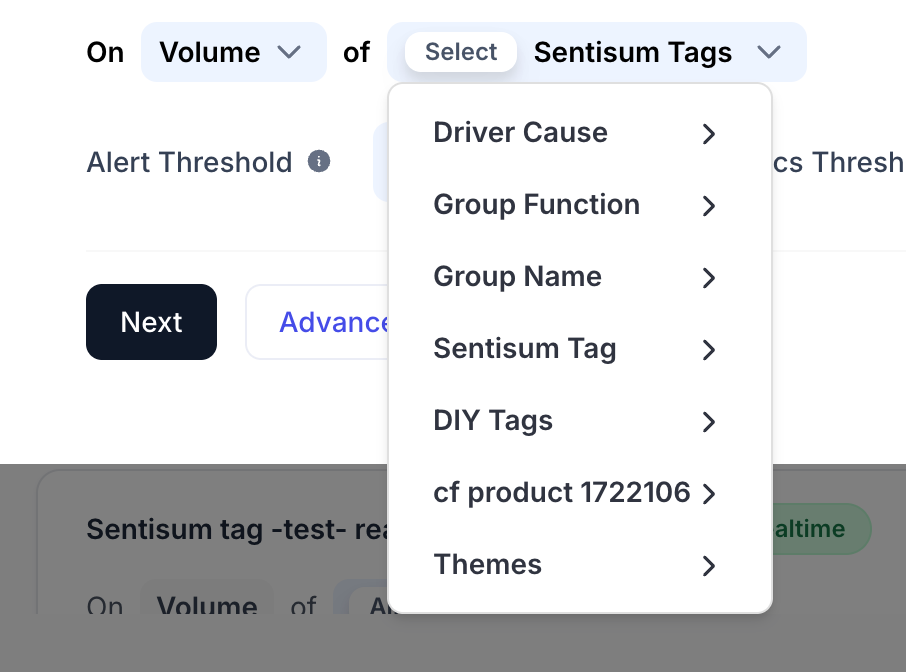
- On — select your metric (e.g. Volume) and dimension (e.g. Sentisum Tags), then pick the specific tag
- Alert Threshold — choose Low, Medium, or High to control how sensitive the detection is

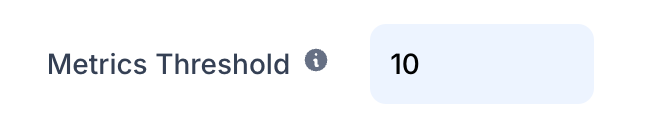
- Metrics Threshold — set the minimum volume required for the alert to fire
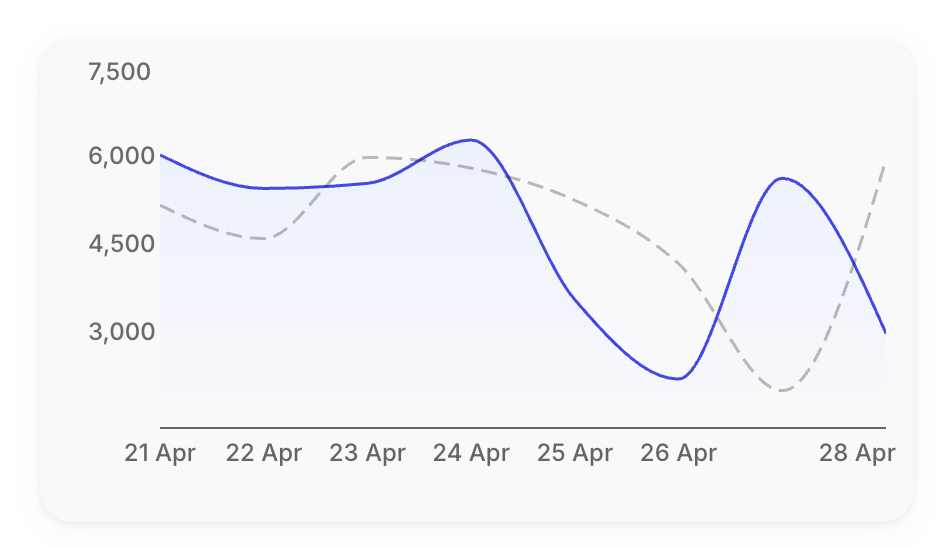
- The graph on the right shows a live preview of your selected tag's recent data to help you judge your settings
- Click Next to add email recipients, then save
Configuring a Custom Alert
- Name your alert — give it a clear, identifiable name
- Frequency — choose Daily or Hourly
- On — select your metric (e.g. Volume) and dimension (e.g. Sentisum Tags), then pick the specific tag
- Metrics Threshold — set the exact volume number that triggers the alert
- The graph on the right shows a live preview of your selected tag's recent data to help you judge your threshold
- Click Next to add email recipients, then save
Managing your alerts
Go to Alert Settings to see all configured alerts across both tabs. From here you can:
- Toggle an alert on or off without deleting it
- Edit an alert to update its settings
- Delete an alert you no longer need
Receiving notifications
When an alert fires you will receive an email and a Slack message. Both contain the same information:
For Anomaly Alerts: tag name, current count, threshold, delta, AI-generated root cause summary, 7 and 30 day trend, and a direct link to the source tickets.
For Custom Alerts: tag name, current count, threshold, delta, 7 and 30 day trend, and a direct link to the source tickets.
Troubleshooting
Not receiving alerts? Check that the alert is toggled on in Alert Settings and that your email is correctly added. Also check your spam folder.
Receiving duplicate alerts? You may be added to multiple alerts covering the same tag. Review Alert Settings to check for overlaps.
Receiving too many alerts? For Anomaly Alerts, increase Alert Threshold to High or raise the Metrics Threshold. For Custom Alerts, raise the volume number. You can also toggle alerts off temporarily.
FAQ
Can I create both an Anomaly Alert and a Custom Alert for the same tag? Yes, both can run on the same tag simultaneously.
What happens if I create a duplicate alert? The system will notify you that a similar alert already exists.
Can I edit an alert after creating it? Yes, click the edit icon on any alert in Alert Settings to update its configuration at any time.
How do I provide feedback on an anomaly? Use the thumbs up or thumbs down on the alert card in your dashboard. This helps the system improve over time.